Pin It
I took the plunge a little over three years ago. But I thought about it for much longer than that. It took me a couple years to jump in. But now, over three years later, I'm so glad I did.
When I look back at the many changes to my kitchen, I love it's current state. However I also know that I'm not done. I suppose I never will be. But I do know that we are thinking, down the road a couple years, that we will be selling to either downsize and/or move to another area. That makes me look at my house in a whole different light.
I took the plunge a little over three years ago. But I thought about it for much longer than that. It took me a couple years to jump in. But now, over three years later, I'm so glad I did.
 |
| A 4 foot wide wall, with a doorway on each side and no power outlet, graces the north side of my kitchen. |
When I look back at the many changes to my kitchen, I love it's current state. However I also know that I'm not done. I suppose I never will be. But I do know that we are thinking, down the road a couple years, that we will be selling to either downsize and/or move to another area. That makes me look at my house in a whole different light.
 |
| From the kitchen looking towards the eating area. |
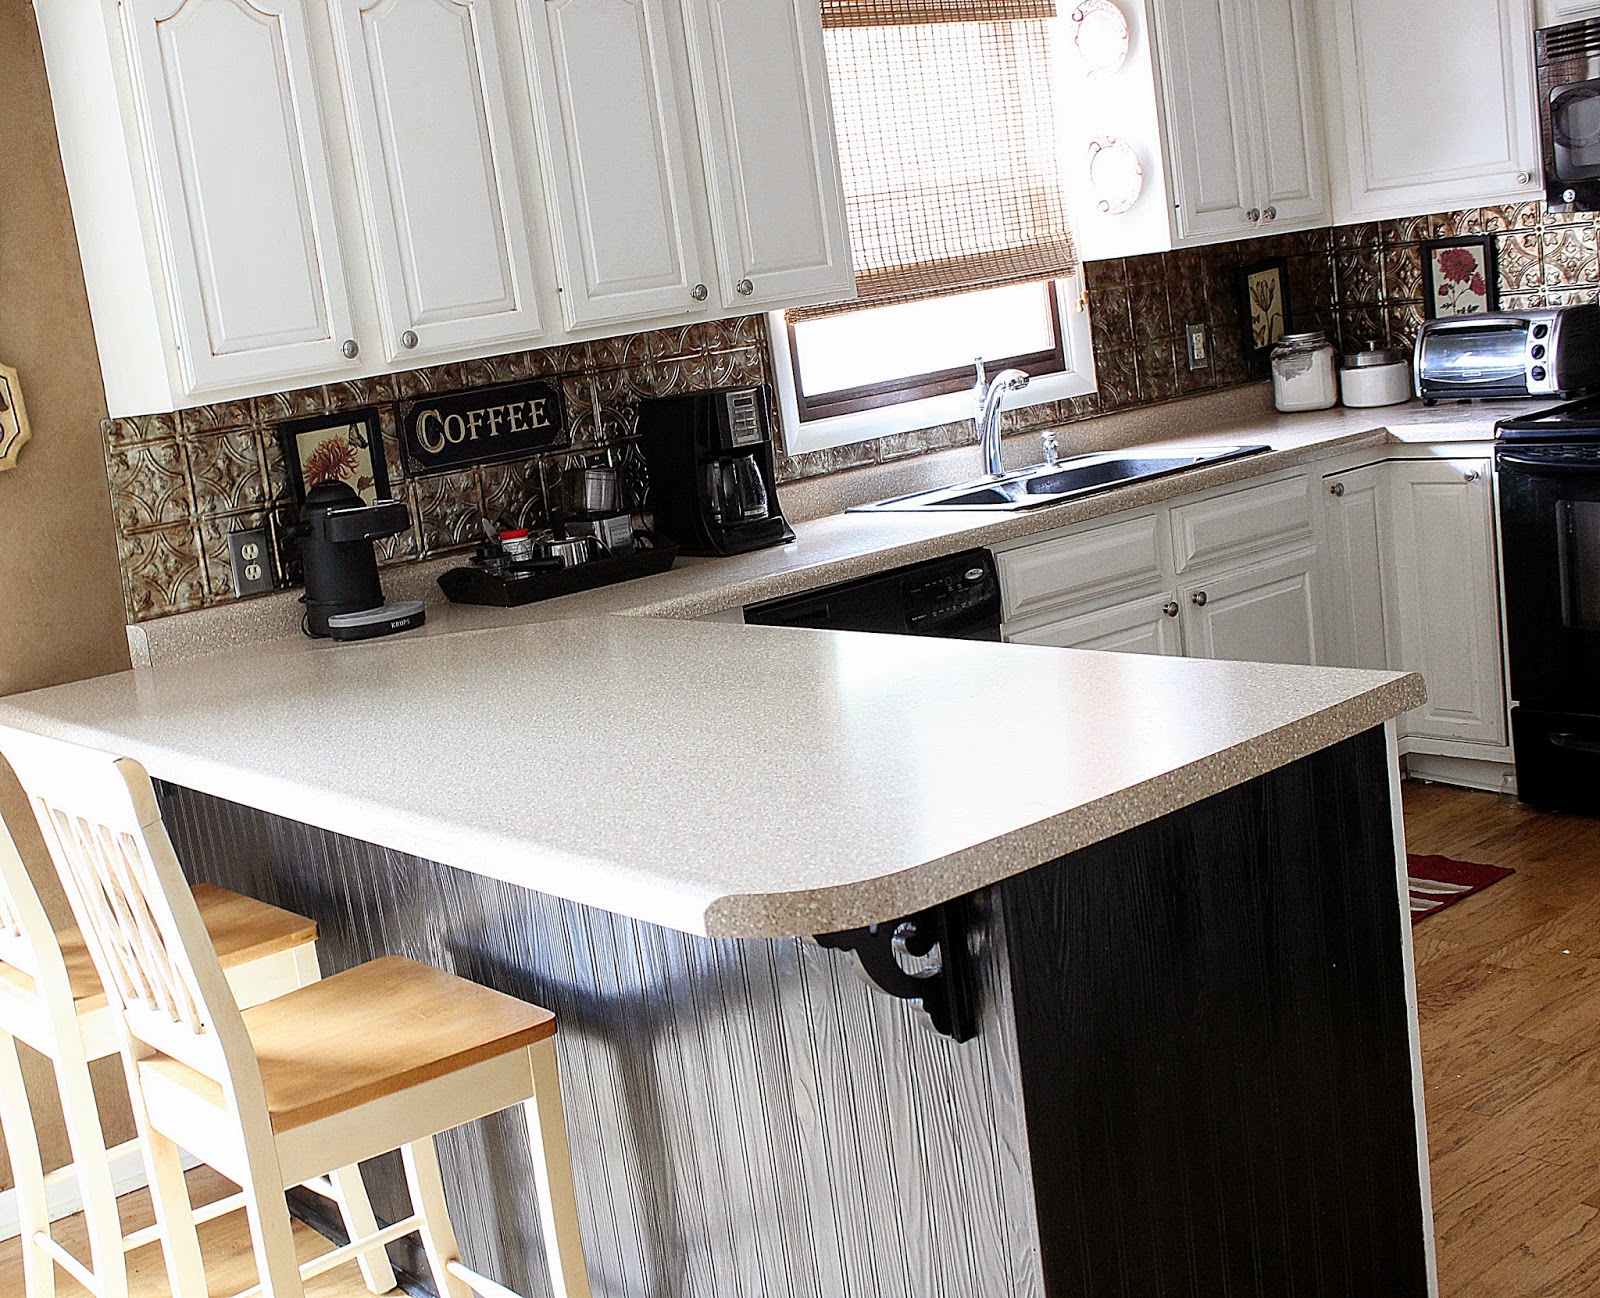
In it's first life, well let's just say that 'country wasn't cool' and leave it there. We then went on to the start of our cupboard painting adventure, you can read more in "On my way to a dream kitchen." and The Painted Cupboards." Then we added a new laminate countertop and beadboard to the back of the island, read about that here.
 |
| Wainscotting project from several years ago. |
 |
| Plastic 'tin ceiling tile' backsplash was a inexpensive and easy upgrade. |
 |
| Gotta love those textured walls, huh? Every. wall. in. the. house. is. textured. |
I knew, from the get go, that although I really wanted granite or quartz countertop, new cupboards, and a new layout with the recent drop in home values in our area (for the past 5 years) we would not get our money back.
 |
| IKEA kitchen island fits the limited space well. |
So we have settled for inexpensive and simple upgrades that make a huge difference without a huge dent in the pocketbook! And other than a couple high traffic areas, the painted cupboards have held up great!
 |
| Touch up area. |
Linking up this week to:
Your kitchen looks wonderful.
ReplyDeleteYour kitchen is lovely! I think you were wise to get the most bang for your buck, and you've created a space that's warm and welcoming.
ReplyDeleteThanks so much for joining Grace at Home!
Very nice job--- I finished a similar paint job on my cupboards a couple of years ago and I'm wondering if there is a product out there that will be a clear coat that would go around the knobs and pulls to make those areas less prone to chipping, wear and high traffics dings?
ReplyDelete