Saturday, January 20, 2024

The Wallpaper from Hell

Pin It

My first project of 2024 finds me updating my hallway with board and batten wainscoting and peel and stick wallpaper treatment at the top. My go to for wood trim treatments is always MDF as I find it so much easier to work with but, gosh, has the price of MDF inflated! Like I was shocked! But I found a decent dealt for 2"x8' mdf at Lowe's and this determined the size boards I would use for my wainscoting. 

Often I have a basic plan in my head of what I want to do but this project found me all over the place. I bopped between painting the hallway and doing a focal point wall for the entrance, then I thought about board and batten with stencil for the top. Don't get me started on my plan for the board and batten! But ultimately, the price I found for 2" at Lowe's made my decision and I went for it with no particular install plan in mind (which is pretty typical of how I roll!). 

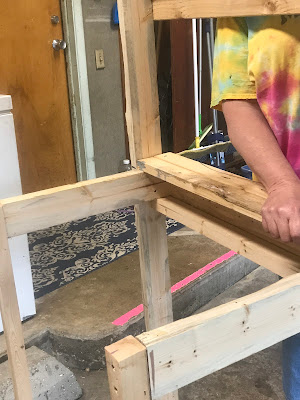
Since I usually worked on this project while I was home alone, I chose to use the traditional miter box. Figured it would be harder to cut off a finger that way!


Since I am NOT a math person, I did not calculate spacing but I put 10" in between each board. Too make it even easier, I made the length 4' so I could cut each 8' foot trim in half. While it didn't work every time, it worked the majority of the time. Chalk it up to an old house and uneven walls!


After cutting, I taped each board in place and used the level to make sure they were not crooked. I then used a brad nailer to secure them to the wall but only after I 'dry fitted' the whole wall section.


Isn't brad nailing fun!


This is the end result. I was a little worried how it would look with the 3" baseboards but love it honestly!


After installing the trim, I caulked it wherever there were gaps (and yes, there were some!), then I painted the caulk and MDF trim with the base wall color.


Any general caulk will work. Tip: I soaked the tube in hot water to soften the caulk which helps to squeeze it evenly out of the tube. I then took a artist paint brush, dipped in warm water, and ran it over the caulk. This will result in smooth seams.


I had been eyeing this wallpaper for a few months and absolutely LOVE the pattern. That said, it is apparently available through different wallpaper sites but not sure if the manufacturer is NUWallpaper for all but it was HORRIBLE!

I cannot say enough bad things about this wallpaper and the time and effort it has taken me to install and make it look right. The wallpaper (I used 9 rolls and every roll was bad) was rolled with lots of wrinkles in the wallpaper that were closed to impossible to flatten. After installing, lifting it and stretching to smooth it out multiple times, FINALLY the wrinkles would start to flatten!

This is an example of the wrinkles. Some rolls were worse than others.

But, I am nearing the end and still, despite the issues I had (like my step stool collapsing, my incorrect measurements due to a rough pattern repeat, I finally am nearing the end. Would I do it again? Probably not but still, I LOVE it!!

Since I previously had repainted the hallway, and walls are not textured, I used the wall for the recessed part, added the MDF, caulked and painted MDF with the wall color to all blend seamlessly together as one.


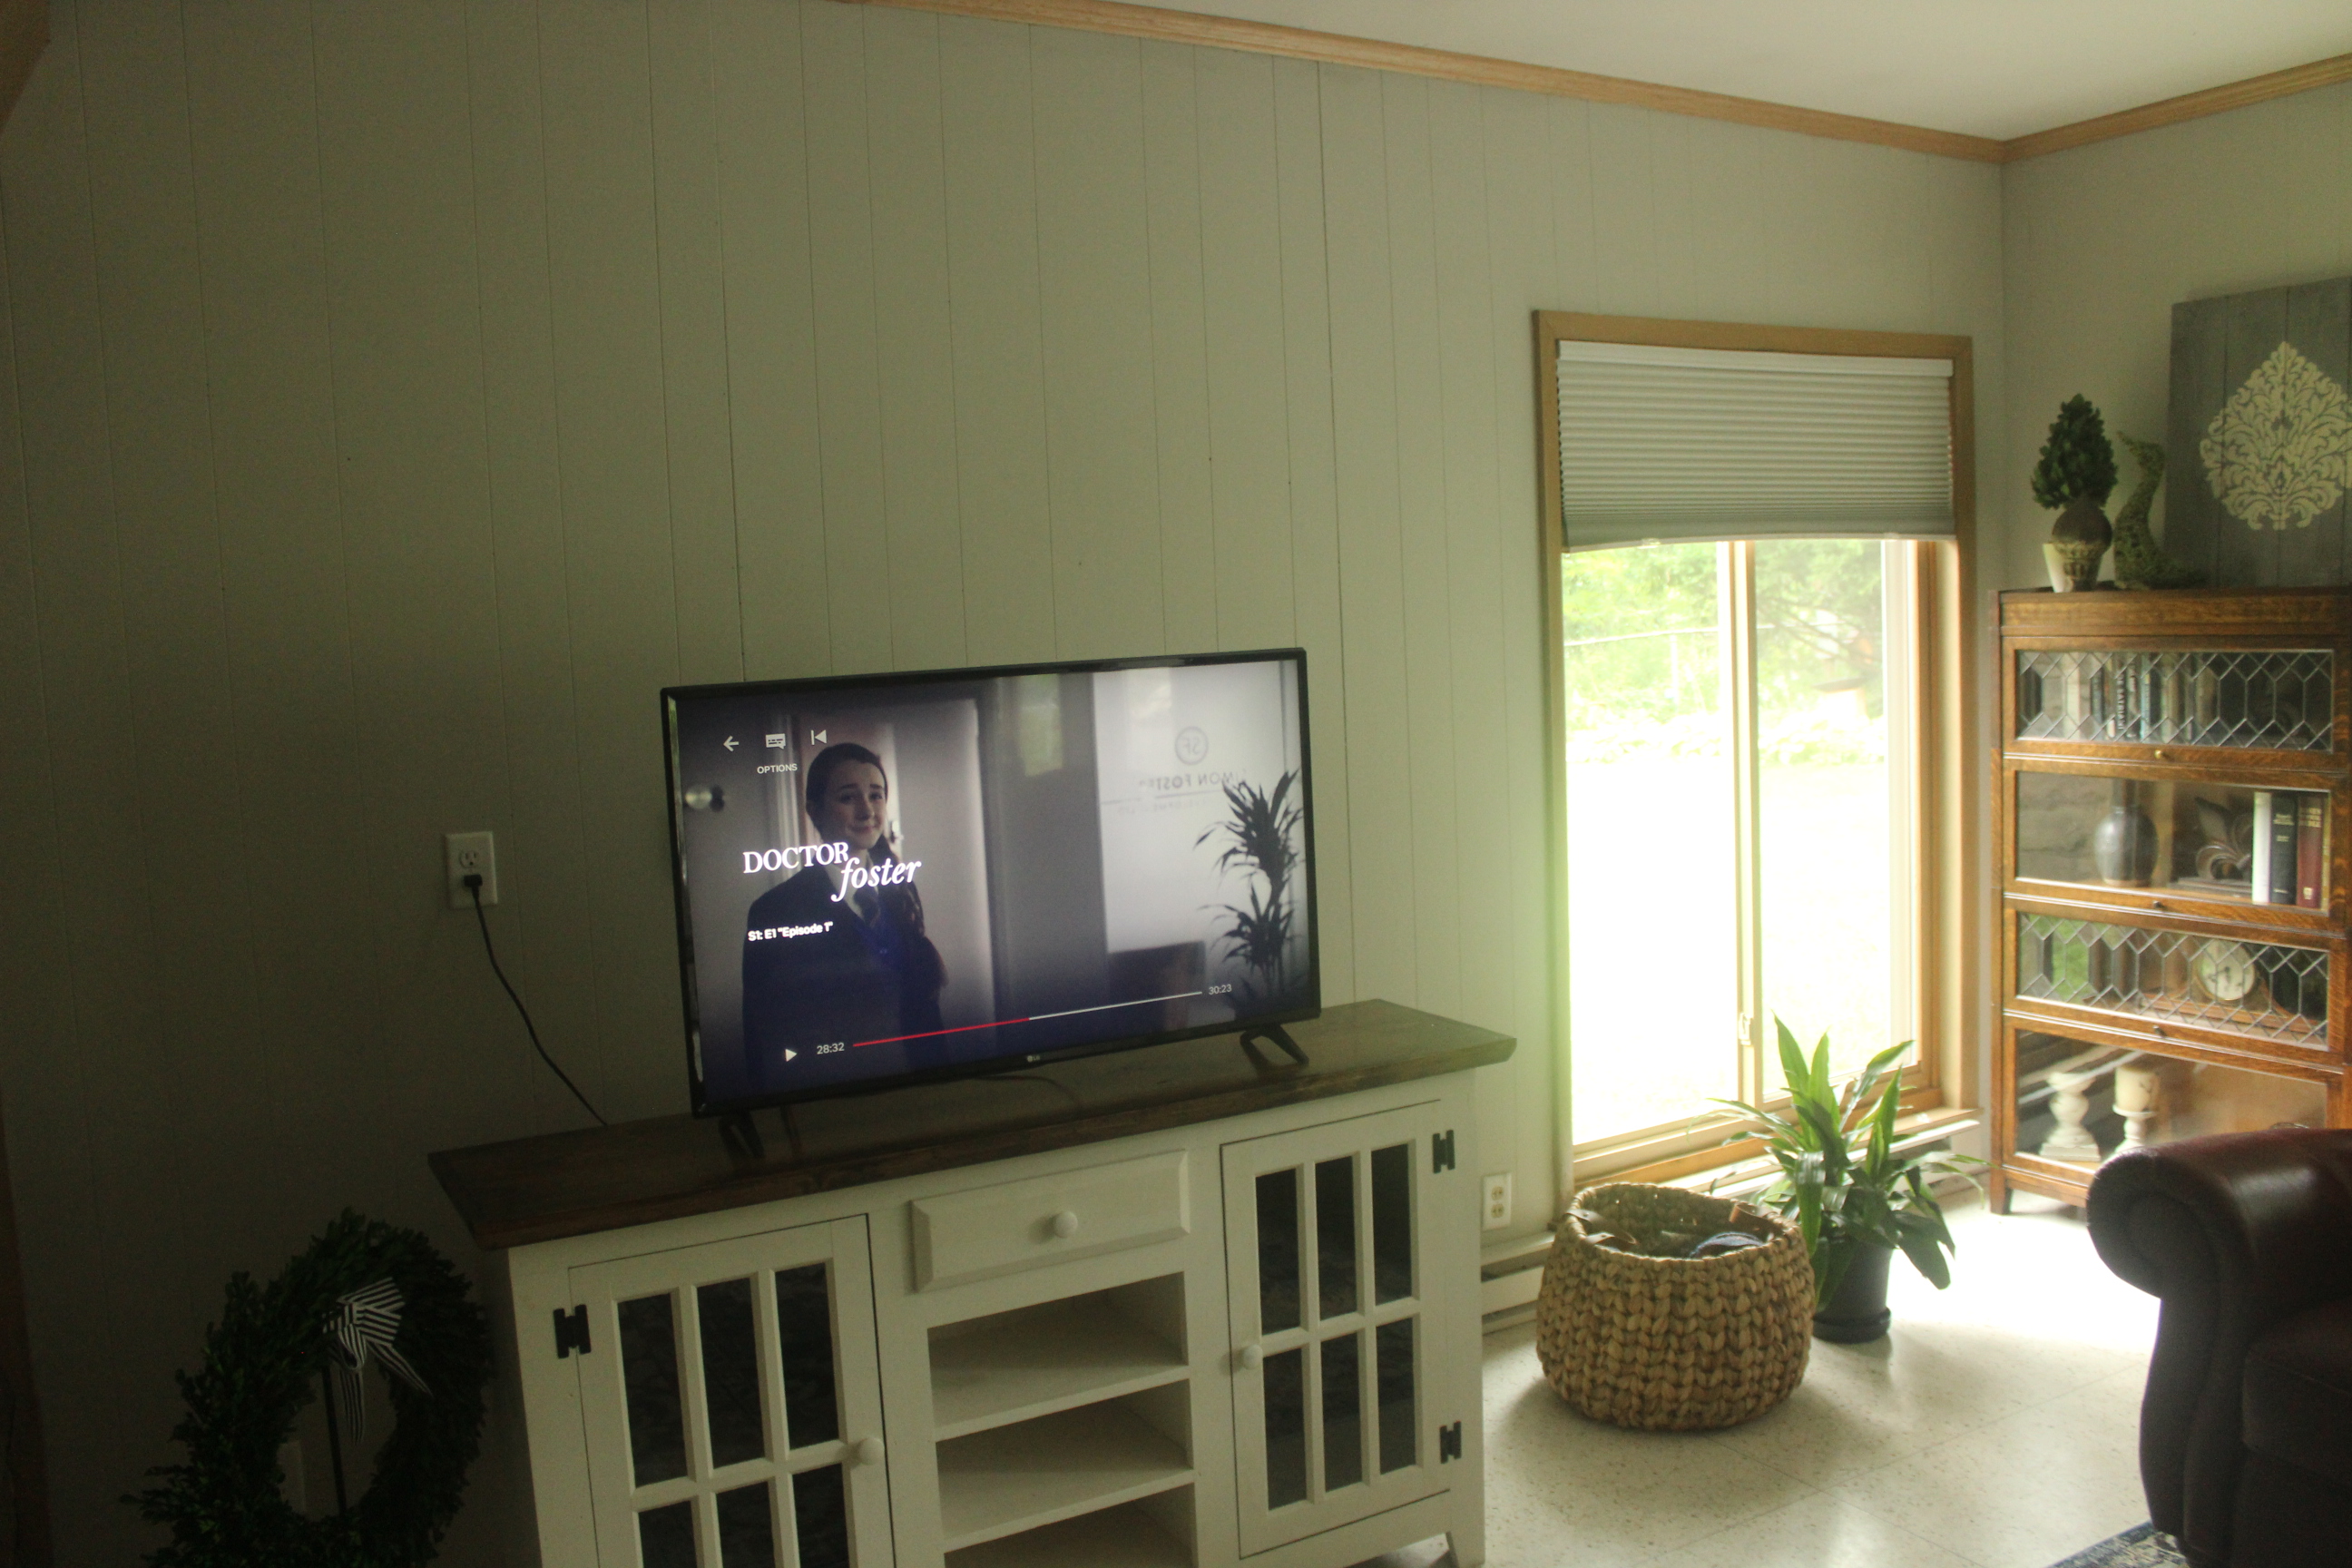
As soon as I recover from this project, will find me refreshing our bathroom.

Quick pic of our bathroom. Read more about the original update here.


Thanks for stopping by! Don't forget to drop a comment. Would love to hear from you!

Thursday, October 19, 2023

Bedroom turned office renovation

Pin It

Our last son moved out on his own about six months ago. About two days later I started converting his bedroom into an office. Why so soon? Well I was using a small bedroom as my office and it was dark during the day and late afternoon the sun shined into the only window making it hard for me to work on my computer. Well and probably the fact that I just hadn't refreshed a room in awhile and I was itching to do so! My goal was, however, to keep the budget down and 'use what I had' and so I set out to do just that!

I kept the white/light paint that my son had used on the main walls and then used leftover black paint (used in our family room) for the 'focal' wall. Because this room has picture windows in front as well as a side window and is in the front of our house, it gets a LOT of sun and light. However I didn't want just a painted focal wall so started researching trimmed out focal walls. 

I found tons of great ideas and love to gather all the ideas and then 'do my own thing' as it were. Which is exactly what I did with this. While most would have mathematically figured out how to install the trim I didn't. Believe me I tried! Math is not my thing and since the trim was 1-1/4" wide it was difficult. So I decided to keep 3" between trim pieces and started cutting with absolutely no rhyme or reason just until it look 'right' in my eyes.


Used 1-1/4" MDF trim


Used the old fashioned mitre box since I was cutting MDF. Saved me hiking to and from the garage to use my mitre saw.


Cutting trim, taping, and placing on wall.


Brad nailed all trim in place and painted to match base color.


For the main walls, I kept the light 'green' paint that my son had used. Not normally a white wall person but for some reason I felt like keeping it. Maybe I just didn't have the energy to paint the whole thing!


Completed bedroom to office conversion for less than $200.


Linking up today at:


#1951renovation
#focalwall
#blackwalls

Friday, October 6, 2023

Paths are never straight and narrow

And mine is no exception. For the past four summers living at this house I have been pondering what to do with the path the is in my back garden.

This path was inherited and took shape as I cleared out the trash and the area and sort of just came to be. While I liked having a path through the area, I just never really knew what to do with. It is surrounded by trees (walnut trees to be exact) so in the fall LOTS of walnuts, and leaves drop back there which makes the hard surface decision difficult. I didn't want anything that would blow away with the leaf blowers and rakes, didn't want anything that would stain from the walnuts, you get the picture.

But nothing usually results in something, namely weeds. So I started filling in with random pavers and some Quik Crete poured step stones just to keep the weeds down. Until one day, my husband and I were at an estate sale and I noticed a pile of bricks that was covered in dirt and surrounded by weeds. Asked the estate people if they were for sale. Honestly? I don't think they had even realized the bricks were there so they gave me a price of .20 cents per brick. These were not just any bricks but old road bricks! I was so excited and we piled as many as we could in the back of my suv.

The following spring my boys and husband started installing the bricks in the pattern I wanted as my Mothers Day gift. I was so excited and absolutely LOVE how it turned out!


Metropolitan road bricks! A piece of local history.


We started by removing the misc bricks, stones, pavers that I had been collecting. Then we dug out a trench to hold the bricks in place. We did not put sand or landscape fabric or anything underneath. Honestly my experience with that foundation stuff is that it really does not keep the weeds from growing. So I didn't bother.


The start of something good!


Almost there!


This is a picture of what was still on the path as we neared the end.
 I honestly wasn't sure what to do at this point but we decided to curve
the stack and keep it going even though it was much narrower
than the original path.


I ended up leaving it very simple by removing the old
 step stones, adding bricks as far as I could and filing with dirt. I am
 transplanting moss to this area, along with small hostas, to fill
it in and keep weeds from growing.
I


Used polymeric sand between the bricks to help solidify them and keep in place.


Sweep it into the cracks and then water it down with hose to 'seal'.


This is how it looks today. Only step left is for the hostas and moss to fill in the dirt areas. Will probably replace the 'wavy' edging as I hate it!


Joining up this week at:


I love the path and the history behind the bricks. I am a total historical geek.

Thanks for visiting!

#technisealezsand
#polymericsand


Saturday, January 28, 2023

DIY Firepit area

Pin It


I love my propane fire table that I use on the patio. But there is something about a log fire pit, am I right? This past fall my kids dug up an area in the side backyard for a new fire pit area. The labor was a belated birthday present and my DIL killed it! She is a worker and easily outworked my boys!

Digging up the sod.


Found this as we were digging. No idea what it
connects to, however we have  indications there
used to be a sprinkler system in the back yard.


Laying brick border.


This is the river pebble we used in between the limdstone.


Using limestone for old retainer
wall to form a rug look.


Finished, sans the grass seed and landscaping
that will
happen in the spring. Center area is for the fire pit.


Done! And just before Thanksgiving!


Anxious for spring to get back out and landscape the area, add the firepit, and the pergola.

Thanks for looking!

Linking up to:


Sunday, January 22, 2023

One Thing Leads to Another

Pin It

One thing we never thought of, when renovating our backyard, was replacing the limestone retainer wall that runs at the back of the patio. But little did we know that it would start imploding last summer! Honestly we probably did not help the situation by having several junipers removed that were quite old and planted in the top part of the wall. This was probably part of the reason as the root system was likely holding things together. Yeah, we saw signs of that happening but still...

I guess, looking back at old photos, it was in a lot
worse shape than we realized. But in it's own way
it had its charm with all the aged layered limestone.
All the hostas in this photo (and much more on other side)
was thrown in a pile that sat in the hot summer weather
for 6 weeks. After the new wall was finished, I replanted
 them and they all lived.


After removing the limestone.


limestone


Boy, did we have limestone!
Every bit of it was used in other parts of the yard. 


This is along the length of the north half.


Lining up the new retainer wall block after
a load of gravel was put down as a base.
That black 'pole' is actually the gas line to an original
gas grill. It didn't work and we had the gas line disconnected
but no way to tear it out.


Progress!


After many weeks of part time work, it was finally finished. Well the wall was finished anyone. Next was my turn in replanting all the hostas and new plants and landscaping the top. I love how it turned out and so happy that our old wall imploded after all!

This is a view along the top of the wall as it runs to the
north side of the patio. Replanted the hosta from previous
wall that was torn out, bought some new hostas and perennials.
Used limestone to edge the planted area.


This view is the patio side of he wall and how it
seamlessly rolls into the pond area as well
as the patio area.


Saturday, November 19, 2022

Back yard transformations

To say that our backyard has been transformed would be an understatement. The back part of our backyard was full of 70 years of car mats, broken vases, pottery, shutters, scraps of wood. You name it! But look at it now! Three years of hard work has paid off!


            So much work cutting out sucker trees and digging out trash.


Adding 'no dig' edging (love this stuff) and planting arborvitae bushes


Next summer project is the path that goes around the
'secret garden' area, have the supplies and a plan!


Definitely have more to do but super happy with what has already transpired.


Hope you enjoy a little bit of garden inspiration!


The Wallpaper from Hell

Pin It My first project of 2024 finds me updating my hallway with board and batten wainscoting and peel and stick wallpaper treatment at th...