Saturday, February 7, 2026

Budget Basement

Pin It

When we moved into our current home, Thanksgiving week of 2019, for the first time ever we had a sauna in the basement. Not a love of saunas I immediately wanted to get rid of it. However it was large and was built in the basement, very well constructed I might add. Fast forward five years, after multiple quotes to removed said sauna for way too much money, I decided to do it myself. Wow is all I can say. Was the hardest thing ever! I successfully removed the door, the heater, benches, and front and side walls. That was all I could do.


This is the only picture I have of it. Was VERY well built
but way too large for this basement and the two people that lived here.


Thankfully a friend and her husband came and tore down the other two walls and room paying them with the free cedar. Then my dilemma was what to do with this space. We priced out having the shower removed but after the cost and the fact that the sewer and pipes would still be left behind, we decided to keep it. Honestly it has only been used a couple times but decided why pay to have it removed? So we left it. My goal was to update this area and get rid of the dingy basement vibe for minimal cost and effort.

The start of something, but what?


Another before.


After painting walls and base coat to floor,
started stenciling
.


Stencil progress. This was laborious!!


Shower area. Used a curtain in my closet to cover storage area.
Bought the shelf unit for $30 and painted with leftover paint.


Added family photo gallery and picked up this
cabinet off of Marketplace.


Chairs were previously in living room and
replaced with new chairs.


Close up of completed floor stencil.
You would never know there is a floor drain!


We did not do anything for a ceiling treatment but are still pondering idea. We do have a couple lights to get installed but total for this room was just under $400.


Monday, January 12, 2026

Color Drenching Mistake?

Pin It

I did it! I followed the color drenching trend. Was I nervous? Yup. Totally. But, honestly I absolutely love it!


Original bedroom upon move in
A quick view of the bedroom when we moved in.

This bedroom has a very unique cabinet at the top of the wall. Originally had sliding doors and pendant lights (which I removed).


First update during the first year of living at this #1951renovation.


First version of bedroom
This shows a picture of how that space was converted. I have a had time taking pictures of it but tearing the whole box down would have meant major wall repair!
  
Five years later I decided to do another update as some of the walls were losing top layer of plaster. Plus I really wanted to take the bedroom to another level by adding crown moulding, wallpaper a focal point wall, fine tune the baseboards (that had never been finished in 71 years). More importantly I really wanted to try color drenching!

I sure love to paint!


Adding crown moulding. 

Wallpaper time! Update, this wallpaper was very poor adhesion! Love the design and pattern but have had nothing but problems with it staying so I used spray adhesive. Probably not recommended by most professionals but it worked!


Final, color drenched bedroom
After adding crown moulding, peel and stick wallpaper, paint and baseboards. Searching for a new quilt but for now...is it final? Well, we shall see.


Wooden window wall art
I was searching for some old wood shutters to create a new headboard. After weeks of looking I painted our current headboard and took this wood window frame, painted it same color as wall, and hung over bed. It was free and I love it honestly!


Sunday, January 11, 2026

Three Updates and Counting

Pin It

Do you ever feel like you are done? I don't. But, at our last house I did get most of the rooms exactly where I wanted them and I was happy and didn't want to change anything.

However, I think I have finally gotten my bathroom as close as it can be, short of a major remodel, to where I want it. When we moved into this house Thanksgiving of 2019,  the bathroom looked like this (see below).


This bathroom had a major remodel in 2015 by previous owner (was still in the 1951 original bathroom). I loved the cabinets and tile mostly. But I had the upper bins and upper two shelves removed (there was a bin over the entrance as well that was removed). 


Then I painted and added this wallpaper. 
Which I really loved but the seams did not hold up well
and started lifting over time.


I actually liked the wallpaper a lot.


Fast forward three years found me stripping the wallpaper. 
Removing the wallpaper was not super hard I simply take
a scraper and make X cuts in the wallpaper, spray with
warm water, and start peeling. However the fact that
I had to climb on ladders and straddle tubs
while doing it, that made it real hard!


Repainted with Pittsburgh Paints Silverado. A classic greyish purple
that I have used multiple times in our last home and still love it! 
Added crown moulding and a new to me chandelier purchased for $30!


New quartz countertop and eliminating the second sink
has added so much more counterspace!


Finalized with a wall stencil and clear glaze to add a
subtle pattern to the walls. 


Let me know what you think!
Thanks for visiting.


Monday, December 8, 2025

A little bit of furniture updating

Pin It

You know how they say, one thing leads to another? It is so true! This project stemmed from our bedroom update (will be posting about this soon). First time ever tried Heritage Traditions All In One paint. Super impressed with how easy it was. No prepping or sanding. Simply wiped down with a damp towel to get dirt/dust off and started painting. Then I used some brown furniture wax to give it a bit of an aged look. Updated the wood knobs and used the old knobs that were from the bathroom cabinets. Only cost for two nightstands was the paint at $33! Plus had enough left to updated a coffee table. More about this soon!


We really like these nightstands but they didn't go with
the new bedroom update. Time to refinish them!


First time trying Heritage All in One paint.


First coat done!


Decided to give it a bit of an antique look with
Dixie Bell 'Best Dang Wax"
 I had in my work room. 


Grabbed and old brush and an rag and got to work.


Updated drawer knobs with the former bathroom cabinet knobs.
 Jushed up the look a bit!


Super happy with the way they turned out.
All In One paint is awesome and so easy! No prepping or sanding!


Thursday, March 27, 2025

Life is an evolving door

Pin It

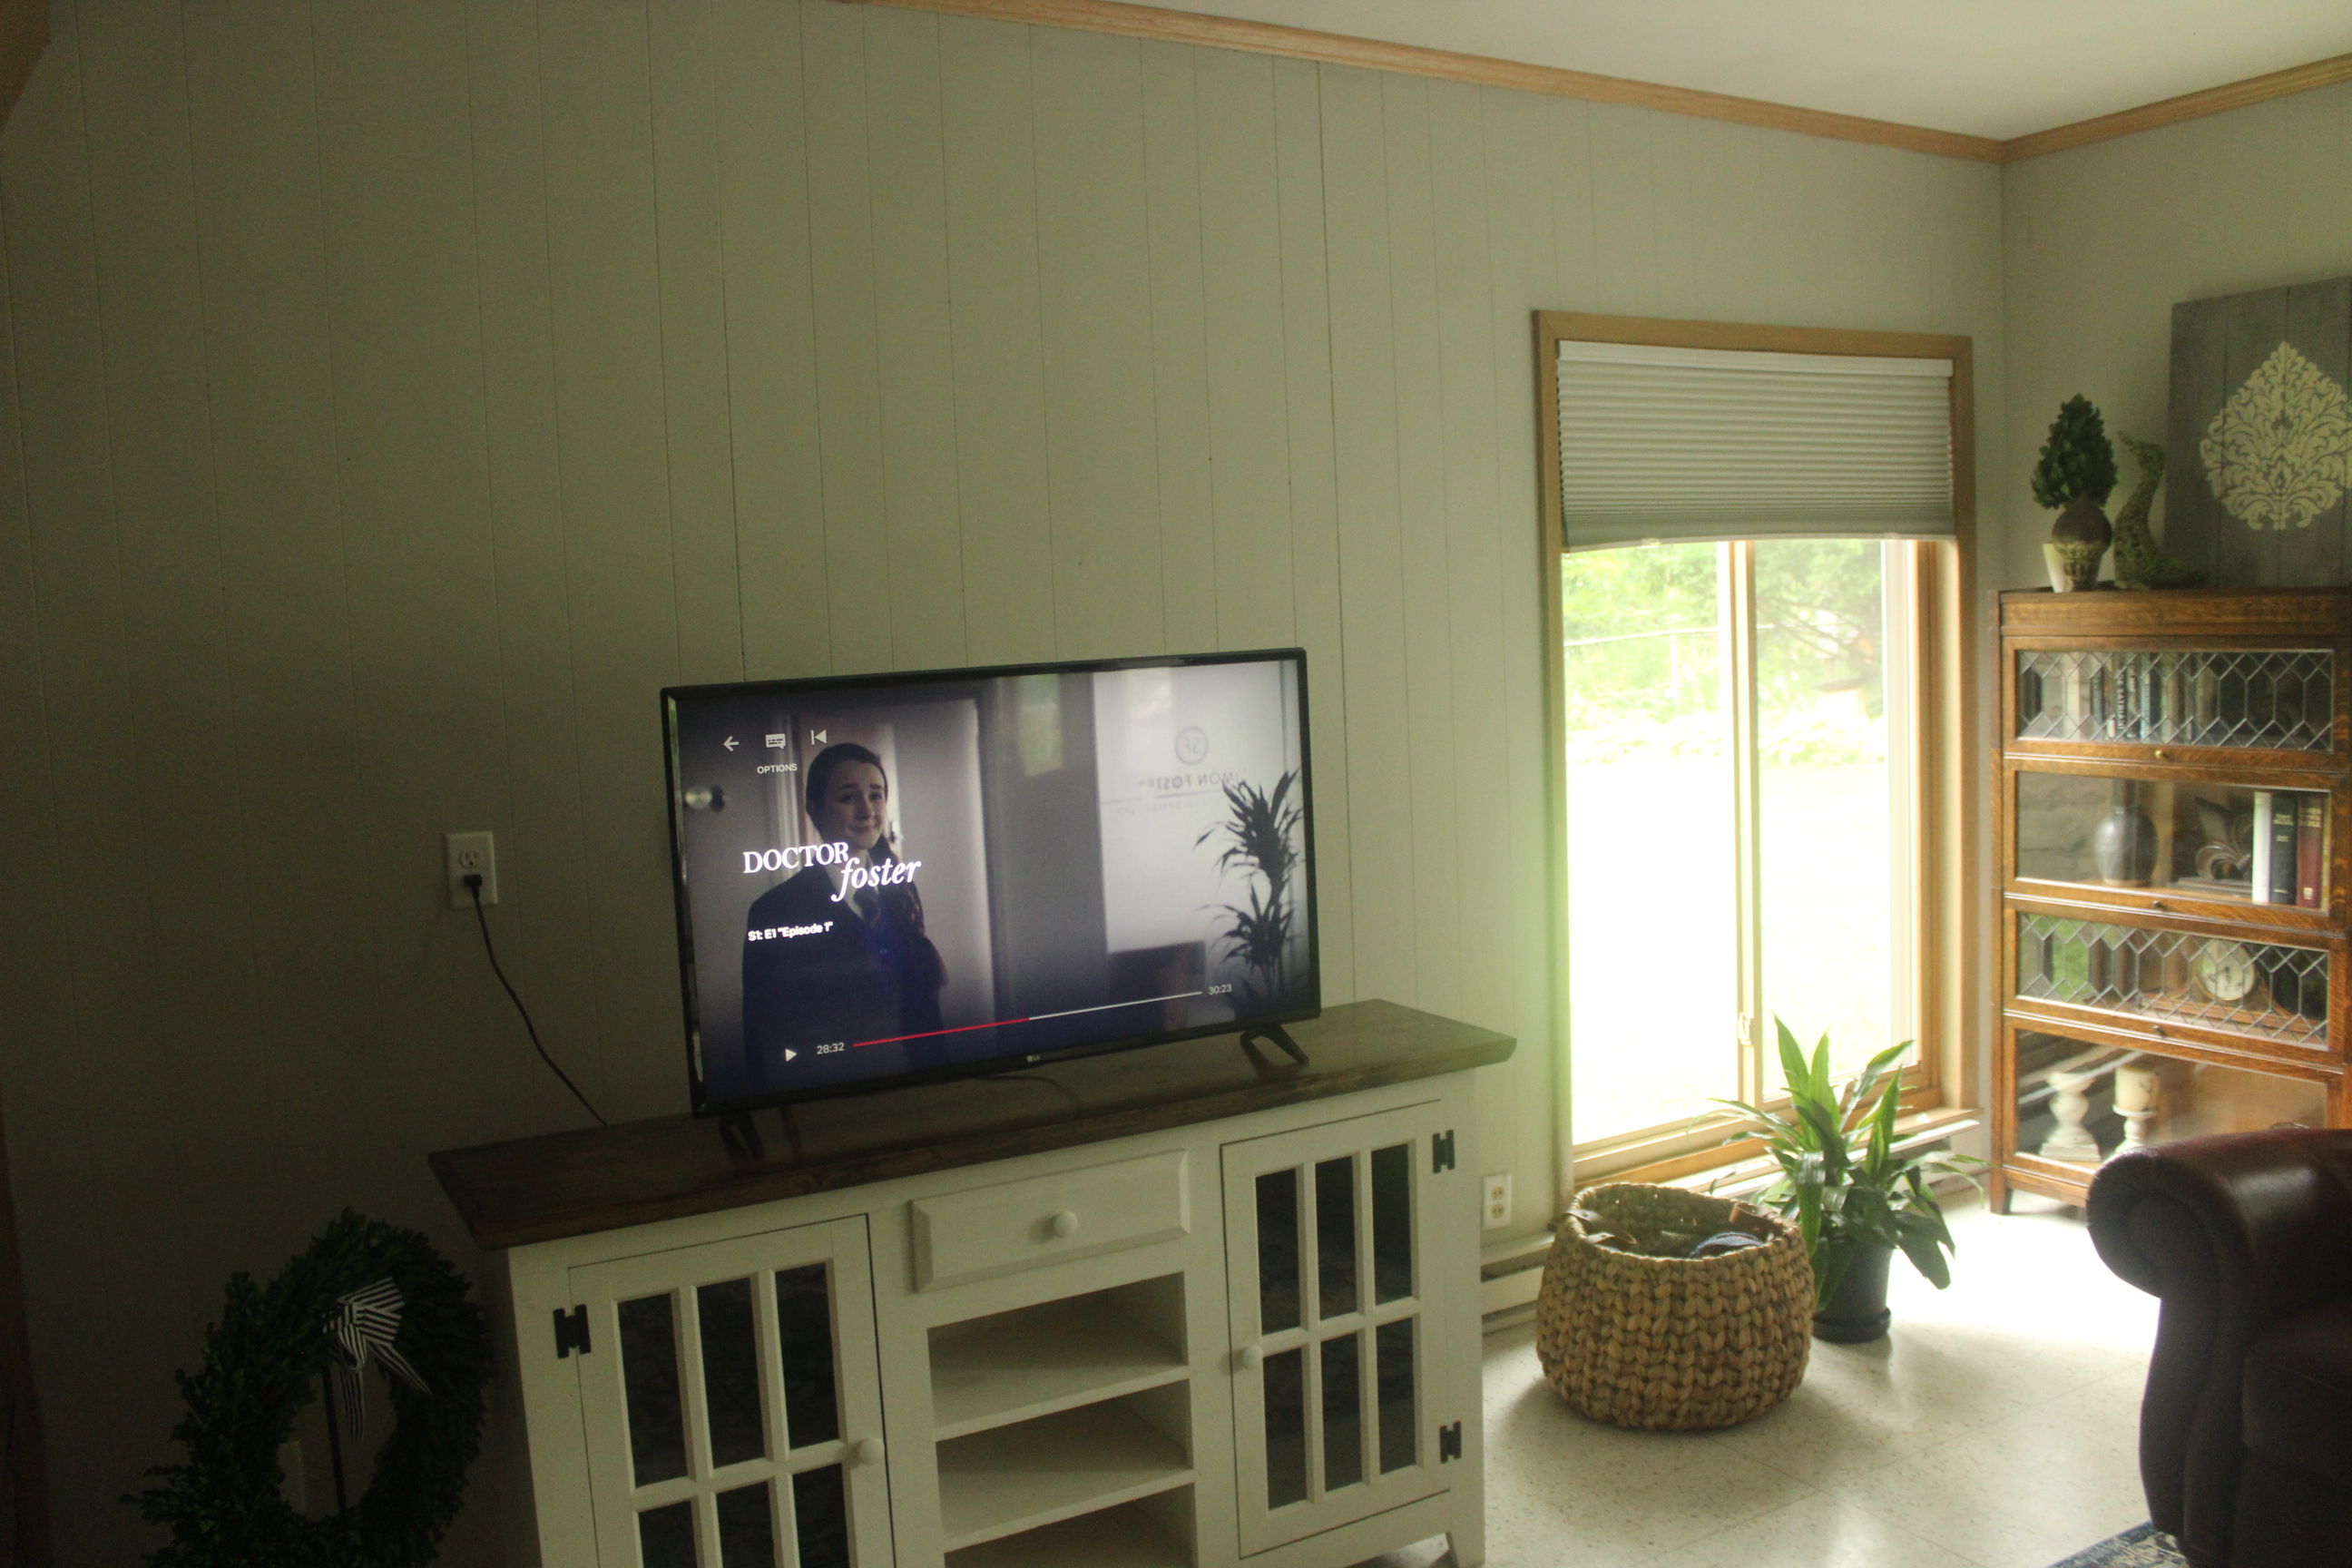
This room in our house is our favorite. The one we spend the most time in. Where we watch tv, read, enjoy sunsets and walk onto the patio. It has beautiful terrazzo floors that are original to the house when it was built in 1951.

It is an ever evolving room and we have done so much to it in the five years we have lived here. Photos tell it all!

Then I painted it black! Best. Decision. Ever.


Then I collected interesting pictures frames, painted them
same black as wall and mounted in a gallery style.


The black focal point wall lasted about another year.


Then I painted this back area with the black.


Took the black all the way through the back
room up to the kitchen.

Eating/Kitchen area.


Paint color is Black Magic


Final of family room


Tuesday, January 21, 2025

DIY Potting Table

Pin It

So many projects in 2025 and I haven't posted in almost a year! Why? I have been so busy being retired and doing what I love! But, today in Michigan, we have reached a high of 2 degrees and so I am catching up on projects and posts.

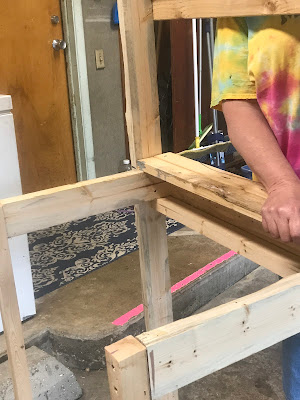
This past summer, my friend and I grabbed a bunch of spare wood and set to work building a potting table for my shed. The day was chilly and rainy but we hung out in the garage and got to work.

We had no plan to go by other than a picture in my mind and with Annie's creativity it came together beautifully. Six months later I cherish the memory of that day as, little did I know, my friend would die suddenly and unexpectedly. I miss Annie so bad but whenever I remember this day and many of our other days spent together, I can't help but smile.

Building the frame, piece by piece.


I cut the boards, Annie assembled.


Annie had leftover paint from a patio project that worked perfect!


Here she is, all painted.


Whoops, remember an old yard stick I found at
this house and decided to glue it on as edging.


Yard stick cut and glued, now to add a couple stencils and 
at the last minute, cut another board to add a shelf at the
bottom.


Here she is! Fun project, zero dollars!


Linking up today to:

Thanks for stopping by!


Saturday, January 20, 2024

The Wallpaper from Hell

Pin It

My first project of 2024 finds me updating my hallway with board and batten wainscoting and peel and stick wallpaper treatment at the top. My go to for wood trim treatments is always MDF as I find it so much easier to work with but, gosh, has the price of MDF inflated! Like I was shocked! But I found a decent dealt for 2"x8' mdf at Lowe's and this determined the size boards I would use for my wainscoting. 

Often I have a basic plan in my head of what I want to do but this project found me all over the place. I bopped between painting the hallway and doing a focal point wall for the entrance, then I thought about board and batten with stencil for the top. Don't get me started on my plan for the board and batten! But ultimately, the price I found for 2" at Lowe's made my decision and I went for it with no particular install plan in mind (which is pretty typical of how I roll!). 

Since I usually worked on this project while I was home alone, I chose to use the traditional miter box. Figured it would be harder to cut off a finger that way!


Since I am NOT a math person, I did not calculate spacing but I put 10" in between each board. Too make it even easier, I made the length 4' so I could cut each 8' foot trim in half. While it didn't work every time, it worked the majority of the time. Chalk it up to an old house and uneven walls!


After cutting, I taped each board in place and used the level to make sure they were not crooked. I then used a brad nailer to secure them to the wall but only after I 'dry fitted' the whole wall section.


Isn't brad nailing fun!


This is the end result. I was a little worried how it would look with the 3" baseboards but love it honestly!


After installing the trim, I caulked it wherever there were gaps (and yes, there were some!), then I painted the caulk and MDF trim with the base wall color.


Any general caulk will work. Tip: I soaked the tube in hot water to soften the caulk which helps to squeeze it evenly out of the tube. I then took a artist paint brush, dipped in warm water, and ran it over the caulk. This will result in smooth seams.


I had been eyeing this wallpaper for a few months and absolutely LOVE the pattern. That said, it is apparently available through different wallpaper sites but not sure if the manufacturer is NUWallpaper for all but it was HORRIBLE!

I cannot say enough bad things about this wallpaper and the time and effort it has taken me to install and make it look right. The wallpaper (I used 9 rolls and every roll was bad) was rolled with lots of wrinkles in the wallpaper that were closed to impossible to flatten. After installing, lifting it and stretching to smooth it out multiple times, FINALLY the wrinkles would start to flatten!

This is an example of the wrinkles. Some rolls were worse than others.

But, I am nearing the end and still, despite the issues I had (like my step stool collapsing, my incorrect measurements due to a rough pattern repeat, I finally am nearing the end. Would I do it again? Probably not but still, I LOVE it!!

Since I previously had repainted the hallway, and walls are not textured, I used the wall for the recessed part, added the MDF, caulked and painted MDF with the wall color to all blend seamlessly together as one.


As soon as I recover from this project, will find me refreshing our bathroom.

Quick pic of our bathroom. Read more about the original update here.


Thanks for stopping by! Don't forget to drop a comment. Would love to hear from you!