Sunday, June 5, 2011

A Pop of Orange!

I have a very strange front entry. Now I am not an architect and maybe I couldn't have done it better but really. For one thing it's big. Now you might not think big is bad but in this case big is wasted. Because other than a walk-thru (walking through on the way to the 2nd story or on the way in from the front door) that is it's only use. It has a closet that juts out and transitions into the living room with these stupid half walls. I might add, that these walls have had these ugly spindle posts that make it look like a jail cell!


Anyway, I'm digressing. I have been on a walk-thru journey with this entry trying to get it the way I want and I am finally 85% there! Yeah! On this journey I have had the walls many colors which has been challenging because all the walls connect to other walls in other rooms and on and on. Well, I did it. I finally found a color that I L.O.V.E.. Orange. Yes, orange.


Here is the front door/closet area.
Dark and ugly.
This is my front door now after lots of painting.
Did I mention how much I love color? Oh, did I also mention how much I LOVE dark, bold, bright colors. Although I must say that I have been pretty inspired by the trend towards white/cream/beige neutrals I have found myself leaning a little towards doing an all neutral room using different shades of beige/browns with lots of different textures and surfaces. WOW, that scares me! I'm not sure what is happening to me. Pretty crazy!


I started this last Fall by painting all that dark trim! Yikes, what a job. Then, I yanked off the closet doors because I absolutely H A T E them! Okay, maybe hate is not a strong enough word. So, off they went but now, what to do? We lived closet door-less for almost a year folks! Let me tell you, if you know the condition of my closets...'nuff said. I just didn't know what to do and so we lived with it. It took me long enough to figure out a color. This color had to look good with my living room green and my stairway capuccino and my kitchen and my dining room and...


Well anyway, you get the idea. So after lots of painting, installing new closet doors, adding a curtain treatment to the side panel windows, painting the door and even changing the lock on the door to get rid of the brass...yuch!
This is the front part of the entry.
 There is virtually no natural light in this space.


You can get an idea how big the area is.


This was my roadside mirror find. Brassy gold color frame.
Spray painted a white and glazed it with white pickling glaze.
Love the frame!

Hooking up to Funky Junk Interiors SNS Party.


UndertheTableandDreaming

Monday, April 4, 2011

Picture within a picture

After many months, many pictures, hunting in the stores for interesting but cheap frames, I have finally finished my picture within a picture. As I sit at this computer where I blog I stare at a rather large unattractive wall. Out of desparation I put up a rather uninspiring arrangment of which I never liked but it was better than blank nothingness. As I gathered ideas from all you wonderful bloggers out there, I realized what I wanted to do and came up with a plan.

Well, fer sure the plan was easier than the project. Oh, the project itself wasn't that hard. You see I simply bought some white painted trim pieces and mitered them into a large frame. Mixed some paint until I came up with a color that I liked to paint the inside. I was aiming for a large picture to hang framed pictures of my kiddos. So I cut the trim, and nailed it in place. Painted the wall and PRESTO! In a matter of 45 minutes or so I had created my frame. I was pretty proud of myself at how quickly I put that frame together. So I was thinkin' that this project was a wrap. Hah! Seriously? The pictures took F O R E V E R! Yes, much of the reason is due to my very limited skills as a photographer and the fact that I have 3 teenage boys who do not really take too kindly to having their pictures taken. I am really. How hard could this be you ask? Just try getting 3 goofy boys to pose and smile nicely...NOT!

It was during round #2 that I realized the mistake I was making. Having them pose was not the brighest idea I had ever had. Once I figured that out I just started letting them have fun and I started snapping pictures. Oh that is the beeeeauty of digital photography. My best friend is the delete button. Between that and the photo editor, I actually turned out some nice pictures. But it seriously took half of my life, or so it felt. Finally, after several loooong months I've finished my photo collage. I hope you like it.

Hooking up today with:


The Girl Creative


Keeping It Simple


Saturday, March 12, 2011

The Painted Cupboards

Almost Before.

 What is a five letter word that is a low cost way to transform any room, involves very little labor, and can create change as easy as T.H.A.T.! Why paint of course. The power of paint. We've all heard it before and it is amazingly true. I can paint a 10x12 room in a few hours. It is cheap and the change it invokes is absolutely astounding.


But painting cupboards....whooo boy...that is a whole different storybook my friends. I have pondered painting my kitchen cupboards for about two years now and, as much as I hated my oak cupboards, I really did not want to start that kind of paint project. There is no turning back once you paint your cupboards. The only thing I hated worse was the beige laminate countertop. The dirty, stained, beige laminate countertop. So my friends, here we go on a paint transformation journey. A journey of cleaning, sanding, cleaning again, priming/painting, glazing, and reinstalling. It doesn't sound that hard when you type it into a sentence but let me tell you it is a P.R.O.C.E.S.S.!

 Now that I have almost completed all the top cupboards and added new hardware and my new countertop is installed. I am soooo i n l o v e and I am only 50% done.


So yes I am now one of the many 'before' and 'after' kitchen cabinet makeovers. If you are reading about these makeovers in the diy blogland and pondering the same change to your cabinets. J U M P ON IN, the water is fine!

And yes, I have a ways to go. And yes, it will probably take me until next year. But I don't regret it one bit. And hopefully, in the not too distant future, you will see the final reveal. Until then, I am linking up to:


Make it Yours @ My Backyard Eden


Saturday, February 26, 2011

On my way to a dream kitchen

We have been 6 years in this house and my kitchen has gone through about 4 transitions on the journey in search of my dream kitchen. When we moved in it had beige walls and a blue check wallpaper with an apple border. Can I say W.O.W.? Country...country...country. Nothing wrong with it if you like it...me? NOT.

So, transition #1was yellow ragged walls with a stenciled grapevine and purple accent wall. Huge improvement I must say, at least as far as 2005 was concerned. I will say I did a cool textured diamond as a backsplash with a cluster of grapes in the middle. All done with paint.

Transition #2 I changed the purple accent wall to a burgundy and updated the wall art. Added the 'fake' tin backsplash which was a BIG improvement and got an over the stove micro.


Transition #3 I painted the yellow walls a cinnamon red with a cappucino colored accent that tied in my office connected to the back. Got rid of the grapes. I liked the colors real well but still had these country oak cabinets that I was so tired of with a very beige laminate countertop.

Cinnamon red color in Trans #4

Oak cabinets with awful trim.


I was real determined to get rid of the countertop. I HATED it! seriously. My dilemma? I didn't really want to spend $4grand on a granite countertop (which is my ultimate dream kitchen) to install over cupboards I hated. Seriously. I have been reading and reading all you bloggers who have diligently painted your cabinets and E V E R Y one has turned out beautiful but I was skeeeeeered. Did I say I was scared? Not only of the work but of the upkeep. Because no matter how much you sand and prime and TSP, painted cupboards still require frequent touchups.


Cabinets being painted with grey primer.
 So, transition #4 begins. I put on my work clothes and dove in. Tore off the nasty old trim and bought new trim. Dug through the wastebasket and pulled out nasty old trim and reinstalled the pieces that mounted on the sides. WHY you ask? Because I wanted to run some crown moulding type trim around the top but, if you look at the picture, the edge on the side stuck out further than the side panel. So, it wasn't EVEN! argh. Reinstalled the trim to the sides to make it an even surface then bought the new trim and brought it home, uber excited to start cutting. Only to discover it didn't fit. You know, that is really what I get. My dear hubby is always telling me to measure first but really it takes so m u c h time. I like to rely on the good ole 'eye ball' technique. You ever heard of that? It is easy but, alas a bit unreliable. So, back to Menards I go to buy another trim that will fit this time. After much blood, sweat, and tears to cut and install the trim (have you ever tried to twist into a pretzel and install trim sideways? It is not easy I tell you) and a humble plea for help to my husband, it is installed.


Step #2, installed wainscotting wallpaper to the side of the cupboards which was an oak veneer.


Stay tuned for part two on my way to a dream kitchen.


Linking up to:

Funky Junk Interiors Saturday Night Special

Saturday, February 5, 2011

Taking a closer look...

Lately there has been a LOT of snow in Michigan which results in more time spent inside the house. This is when I take stock of what I would like to do in this coming year as well as cleaning, organizing, fixing and repairing.

As I was touching up knicks on my dining room table (which, by the way is not very old but sure requires a lot of 'touch ups') I was struck by the thought of how, from a distance my table looks beautiful. But when you get up close you see knicks in the wood, or a scratch here, and blemish there which means frequently required 'maintenance' to keep it looking nice. But, alas even though I touch it up and fix it up to try to keep it

looking new, it really just looks 'aged.' Now, mind you, 'aged' is not a bad look and certainly as I get older, I am looking a bit more 'aged' than I would like. But really being 'aged' is a sign of life well live or, in the case of furniture, a room well used. And isn't that what it is all about?

It is so easy to allow people to only see us from a distance and not get up close where the blemishes are visible. And, as we 'age' we have more and more fixed blemishes but, just like vintage furniture, fixed blemishes are a sign of a a wealth of wisdom gained along the way as we we travel this path of life.

Saturday, January 8, 2011

Best Junk of 2011


This is the weekend to honor junk over at Funky Junk Interiors and I am a well-known junker in my part of the world. In fact, one of my best friends confessed to grabbing a table out of her neighbors garbage and said it was my fault! Yikes, what an influence I have on my peeps!


All in all, this project only cost 
me $10 for the chalkboard paint.


This project started with the frame you see below. When we were clearing out my hubby's grandmas house, I quickly grabbed up this find. It was not much to speak of (wish I had pictures) but once I pulled out the print and gave it a paint treatment it was great in my dining room. Originally there were 2 similar types of frames/print although not a match. I gave them the same paint treatment (the dining room wall color as a base coat with a white crackle finish over the top) and hung both together as empty frames. G R E A T conversation piece. Nobody could understand why I would just hang a couple of empty frames but everybody liked it!

This is the frame. It has been painted and 
spray painted and crackled to end 
up like this.


That's been several years ago and they have gone through many transitions since then. One is no longer as the frame broke and was unrepairable. Alas, the lone frame is now a victim of one final update as seen below.


This is a scrap piece of plywood that has been 
used for a school project by my youngest son, 
cut and now reused as the background 
board for the frame.


Added some lovely chalkboard paint. 
Did have to go out and buy another can. 
Had a can for a few years just waiting 
for a project and couldn't find it...argh!
   
Some of my other fun junk projects for 2011 were:

For the Birds--Repurposing a
birdhouse for the garden.


Birthing New Chairs -- How I rescued
Craig's List chairs


Linking this project up to:

Friday, December 31, 2010

Top Projects for 2010

Wow, this year has flown by hasn't it? Hard to believe we are ushering in 2011. I love the linky parties and the blog posts that allow us to look back on all we've accomplished this year. Holds us accountable to each other and inspires me to keep on decorating! Well, okay I'd be doing it anyway but I L O V E seeing what everybody else is doing. I am a great idea stealer...haha.

Anyway, these are a few of my favorite projects that I completed this year...


Although this project definitely was the least rewarding while doing the work, it probably was the most rewarding of all. To have all my baseboard one color and trimmed out the same made the whole main floor really flow better. Amazing what little things can do!

My most recent bathroom update, Pretty in Purple


This was by far our biggest project of the year. Truthfully it started in November of 2009 and didn't get finished until January of 2010! Ouch. Check it out in "The Afters."

This project was a LONG time coming! I thought and thought and read and read and pondered just what to do with the back of the counter bar. I even tried a few things (paper bag wallpapering, etc.), all of them flops. Then, I finally decided on adding the beadboard, check out the DIY Beadboard Treatment


.

Well, okay so much for top 10 projects. But, you get the drift. Thanks for stopping by.

Monday, December 13, 2010

A few of my favorite things...reviewing Christmas 2010


We are in the middle of our first real snow storm in Michigan. It's has rained all day, turned to snow and ice, and really starting to pile up. Might lead to our first snow day. I am sitting at a hotel in a city about an hour from my home for a work related event and getting ready to post pictures about my 2011 Christmas decorating. Wanted to review last year and see all the changes that I made for this year. Many of the changes simply involve using the same items in a different way. I love how easy it is to change up a room simply by moving some things around, changing furniture, spray painting something a different color. So easy yet so much change!

I definitely like to decorate a bit more 'winterish' and not so seasonal so that I can keep up most of my decorations up for awhile past the holidays. Snowman are one of my top favorite winter decorating items for sure and, where I live, we always have plenty of winter and plenty of snow!

Last year, I hung ornaments from the dining room chandellier, really enjoyed this look but haven't done it this year.

Silver and gold I have some. I love ornaments!! There are always great finds at Salvation Army or Dollar Tree for cheap and they look so great!

Painted the sign above this mirror a light beige and highlighted it in milk white glaze. Looks so o o oo much better!

My pine trees are up all year round, haha but they got banished to the basement rec room. No snow on them this year!
This was our Charlie Brown tree last year, decorated by my boys. This year, they lost interest and I am working on it. Night quite finished but close.

The reindeer flew the coop and landed and a beautiful new (to me) piece of furniture that I'm dying to show off (photos coming soon)


Wreath decorated mirror in living room
Bookshelves in office.
Can't wait to share what I did this year!


Ornaments galore.
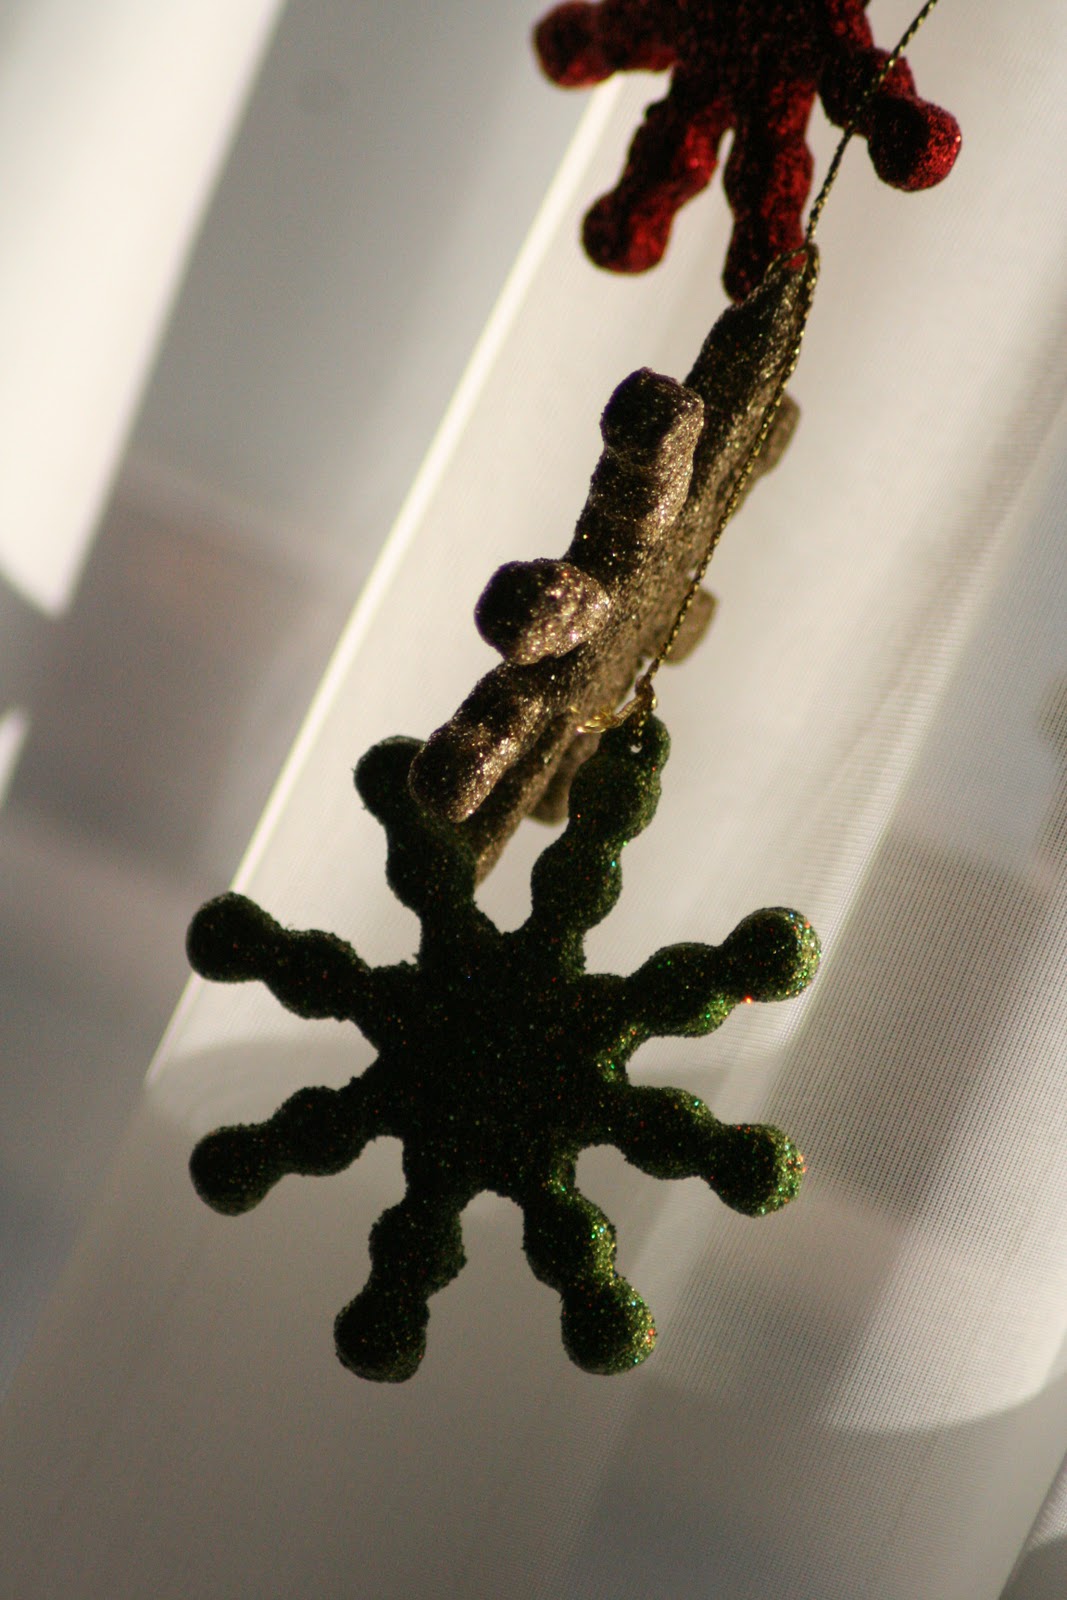
Snowflakes hanging from my dining room windows
Merry Christmas
Dining room bookshelf display
Lights, ornaments, and red. What more do you need for Christmas?

Sparkly Christmas tree
Dollar Tree wreath looks rustic hanging from this shelf.
Let it snow....says it all. Well, let it snow until January.


Thanks for reminiscing with me! Looking forward to sharing my new, revamped for 2011, Christmas decorations!