Sunday, March 29, 2015

Third Time's the Charm, right?

Pin It

At least that's what they say. However you put it, this is my third hit at updating my photo gallery and it is definitely my favorite!

I started this project back in 2011 (wow!) and have changed it slightly I think 3 times now. (Why can't I just leave things alone?) You know how you change just one little thing and then, the next little thing needs to change to make the first little thing even better? Well, you get what I'm saying.

That was the case with this picture gallery. It started out like this:

This was the first version of my photo gallery and I was pretty happy with it!
Read more here.
Then I changed the inside color to a darker grey which gave it more pop and I added a little decorative element to the top.

Of course I changed the pictures up slightly and squeezed in more of them!

But then I decided to paint the walls the same grey that was inside the gallery frame (cause I'm into grey now...who knew?) which led to less 'pop' but no time to change it again.

So a couple weeks ago I got out the paint from the dining room, took down the photos (dusted them...whoo!) and painted the back with the navy from the dining room. Updated the picture with recent family photos and added a silver metallic to the decorative thing-a-magig and I'm done.


Third time is the charm, right? We'll see.


Joining this week to:


Sunday, March 15, 2015

OCDD and a Touch of Spring

Pin It

The sun has been shining for almost two weeks and if you know Michigan, that is pretty darn amazing! The snow is almost gone and spring is definitely in the air.


Spring makes me want lighter colors and natural elements.

But I have lived in Michigan long enough to know it is not worth bothering to start working on my gardens and cleaning the yard. So the best way to usher in spring when it's not quite spring outside? Bring spring inside!

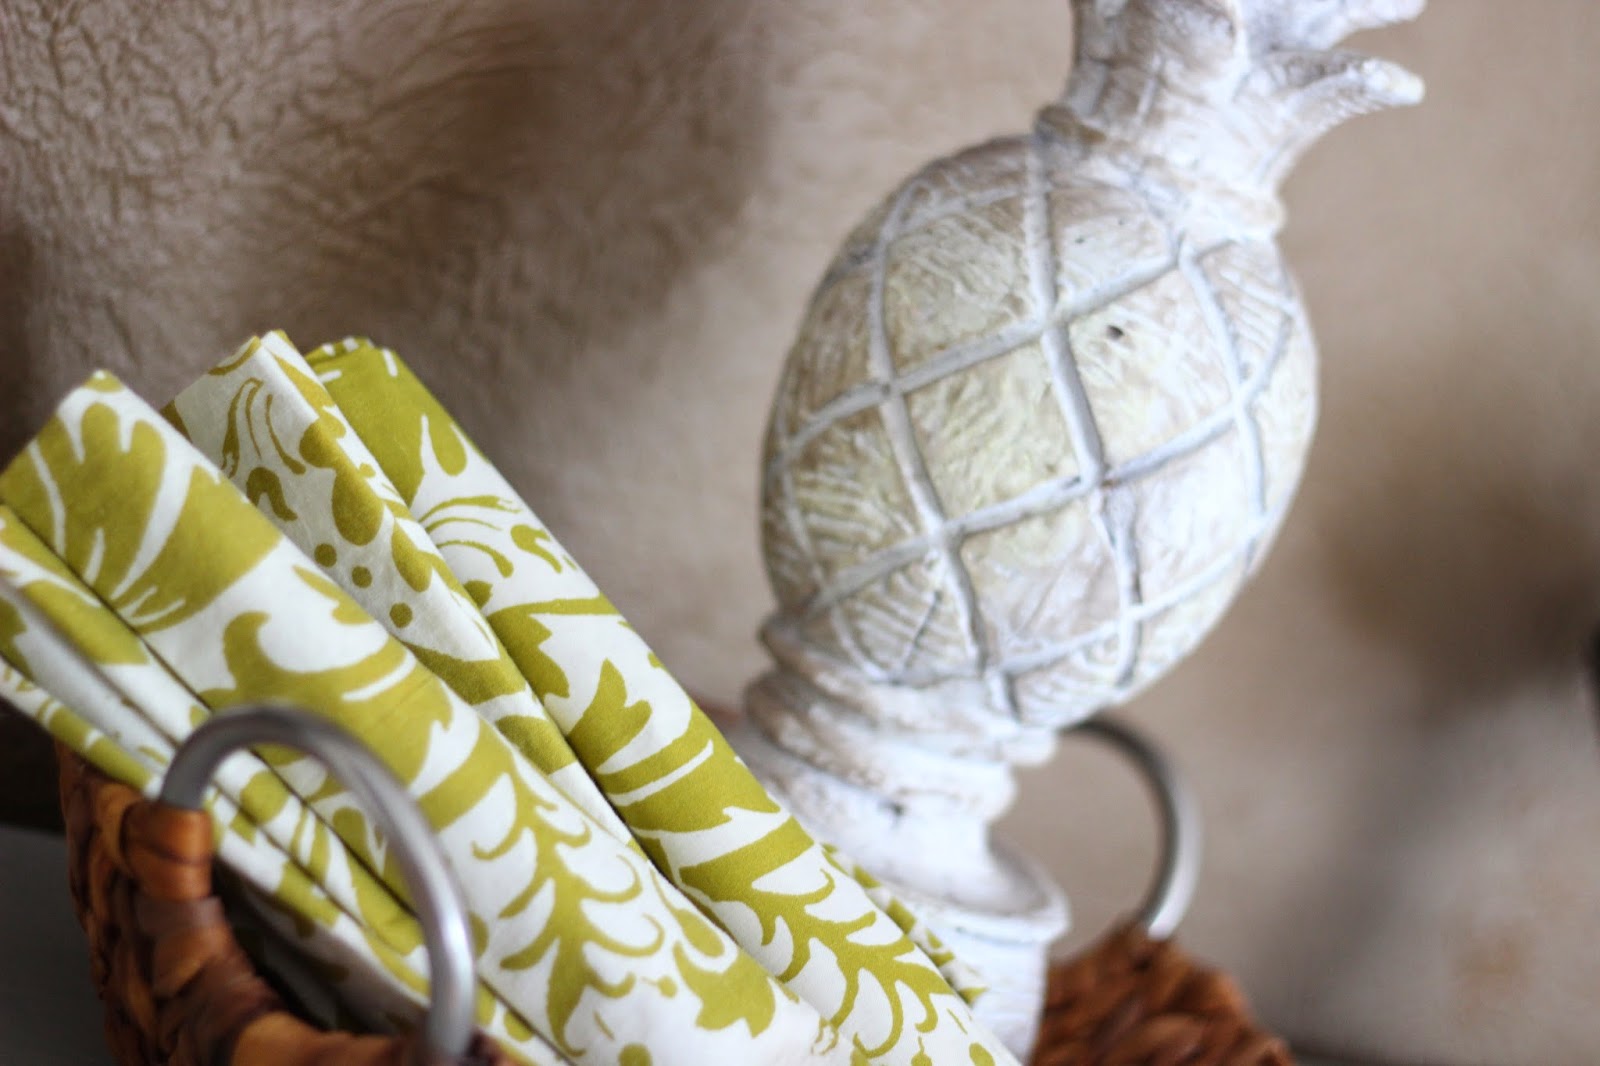
Bird houses are a big part of the spring line up.


Birds and bird houses.

But admittedly this is when my OCDD kicks in. Big. time. Why? Because I know that once the weather stays warm, and the ground thaws, and the plants start growing, and the pool uncovered, it is goodbye inside and hello outdoors!

I try to stay real to the season. Plants have not yet come up and flowers are not blooming so I stay away from flowers and lean towards nature elements.

And of course more birds!
So I know that, for indoor projects, my time is limited. And until the outdoors begins me for good, I keep focused on finishing up the inside projects. 

I lighten things up with brighter colors.

Green, a beautiful color of nature.


How do you bring a touch of spring into your home when it is not quite garden season?

Linking up to:  
That DIY Party
Making Monday
Amaze Me Monday
Wake Up Wednesday

Monday, February 23, 2015

What to do when you don't have time to cook a.k.a. I'm too busy decorating to worry about cooking dinner.

Pin It

I don't know about you but there are tons of things I would rather be doing than cooking dinner. Yeah. But the reality is that my family depends on a good dinner and, honestly, they really are appreciative! Who can't beat that?

Easy crockpot recipes

What I do love about dinnertime is that this is when we all sit down together and connect during the day. And when you have older children in college and high school, it is important to cherish this time and keep that tradition going.


Oddly enough, for all my lack of cooking desire, I seem to have a knack for it. Especially for altering recipes by substituting ingredients and not measuring. I can sometimes even just 'create' a meal by throwing items together. I'm not even sure how I do it but it works.


Easy recipes


To make it easier, I created Pinterest boards that help with this effort. When I search for recipes, I always start with 'easy'. Every. time.

Check them out for some easy, and great, recipes!

LInking up this week to:
Happiness is Homemade
Mom to Mom Encouragement Link UP
Submarine Sunday Linky Party

Wednesday, February 18, 2015

One Man's Garbage...

Pin It

I have a confession. I'm a garbage picker. There I said it and I feel so much better now.


This is what it looked like in its original state and the way I found it on the curb.

In fact, I even have a friend who pick garbage for me...in her pajamas! Now that is friendship. But I have found some amazing things in the garbage and you know the saying "one man's garbage is another man's treasure."


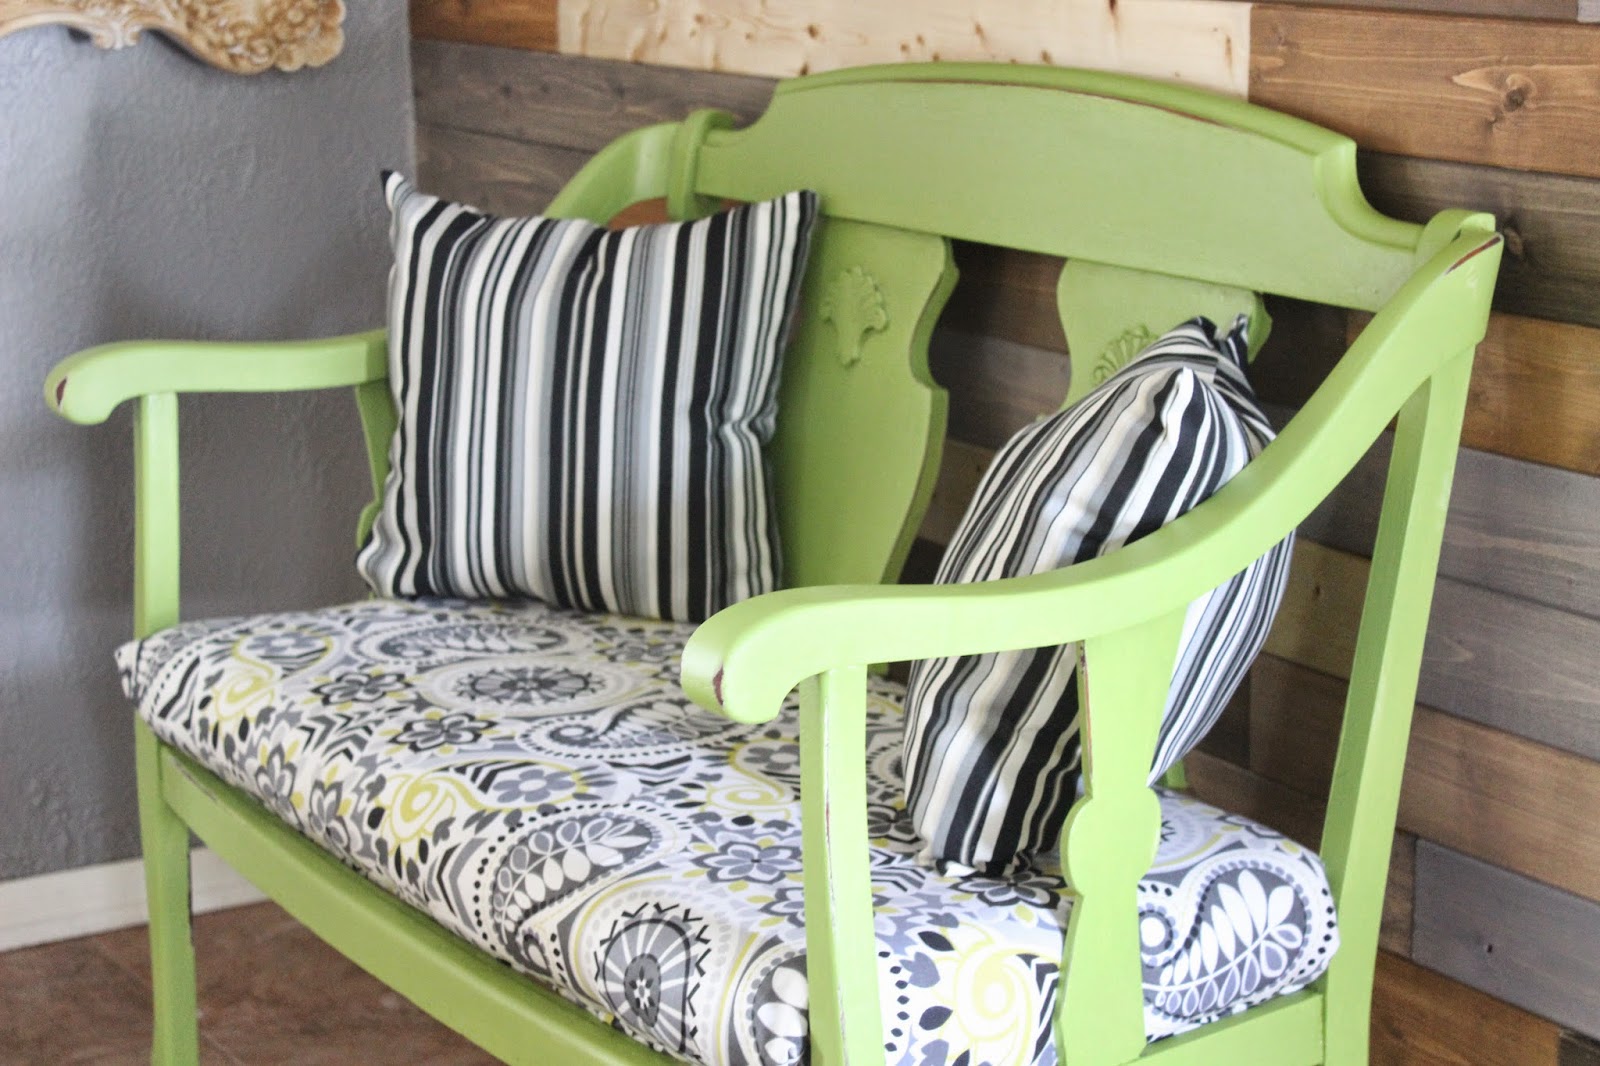
This is what it looks like today after a simple fix, some chalk paint and wax, and a quick upholstery.

Sharing my treasure with you today.


Close up of the finish.

So be honest, are you a garbage picker or are you too embarassed to admit it?


Found the two adorable pillows at a consignment shop for 8.99 ea. What a steal and they match my kitchen chairs!

Linking up today to:
Before and After at Thrifty Decor Chick

Sunday, February 8, 2015

Quick and Easy is Chicken Enchilada Dinner

Pin It

Something strange is happening to me. I have felt this over the past year and I can't explain it. Where I used to hate to cook, I now kind of like it!

These chicken enchiladas were a BIG hit with the family!


The older I get, the more that is true. I even start my online searches with the word 'easy'.

Start by slow cooking the chicken in a crockpot for 6-8 hours.
Don't forget to add cumin, chili powder, and garlic.


Easy italian recipes, easy dog treats, easy DIY table projects. You name it, easy is my game.

Make an easy cheese sauce by starting with a bechamel then adding milk and cheese.


It is no different when it comes to cooking dinner. You see I have never really like to cook and used to buy frozen lasagna and frozen pizza, or order take out. Lately, I don't know but I am kinda gettin' into it and my boys love it! Maybe it is simply there appreciation!

Easy Mexican Rice as a side dish.


Whatever it is, I thought I would share my easy chicken enchilada dinner.

Chicken Enchiladas

  1. Slow cook chicken in crock pot (could be chicken breasts, chicken thighs). Quantity is dependent on how much you want to make.
  2. Add cumin, chili powder, fresh cilantro, and garlic. Again season to your taste. If you like it kickier, add more of the seasonings.
  3. Shred chicken once it is cooked.
  4. Roll chicken in flour tortillas. Be sure to warm the package of tortillas in the microwave for 30 seconds first. They will roll much easier without tearing and breaking!
  5. Roll and line up in baking dish.
  6. Cheese sauce:
    1. Start with a bechamel sauce by melting one stick of butter in sauce pan.
    2. Add flour, one tablespoon at a time, and whisk into butter until thicken. (Probably would not take more than 2-3 tbls.) Bechamel should be thick!
    3. Add milk (can use heavy cream if you like a rich sauce or 1% milk if you want a low fat version). Quantity depends on how much sauce you want but I would say 2-3 cups.
    4. Simmer on low and gradually start adding shredded cheese. I like to use a variety for flavor. Colby-Jack, Cheddar, Monterray cheddar, etc. I like ours real cheesy so I add about 3 cups of cheese.
    5. Continue to simmer until cheese is melted, whisking as you go to blend sauce.
    6. Pour over rolled tortillas, top with shredded cheese, and bake at 350 degrees for 45 min-1 hour.
  7. Mexican Rice.
    1. Chop up peppers (yellow, red, and green), tomatoes, garlic, onions and fresh cilantro. Saute in butter.
    2. Add chicken broth and rice
    3. Add chili powder and cumin
    4. Simmer all in one pan until rice is cooked.
    5. Top with cilantro and cheese and serve.

Linking up to:
Happiness is Homemade
Real food Fridays
Table it! Link Party


Sunday, February 1, 2015

Updated Living Room, yes again!

Pin It

I thought that today, on this blustery winter Michigan day would be a great time to share my updated living room.


New grey on the walls, new curtains, new rug from Pier 1.

This room started with the desire to neutralize our house, possibly for purposes of selling in the near future, and mostly because as much as I love color, I have been recently in love with all the new greys out there. Aren't they just fabulous! But most importantly because I wanted to 'unify' all the many transitions that exist in this room to make them flow better.


View facing west. Still have to add the curtain/valance on the west window.

So a few months ago I took the plunge and painted my living room which led to several other changes. Many of which I wasn't not planning on or expecting! Does that ever happen to you?


View facing east that includes the entry way. Oh and of course a cute chocolate lab!

Our house was built in the 70s and every. single. wall. is. textured. Seriously. That said, painting rooms in our house is not for the faint of heart. You need several coats of paint, a thick paint roller, going back many, many times to check for drips and runs. It is very tedious and very frustrating. But I have to say that this time, due to convenience, I went to Ace Hardware and bought Clark and Kensington paint. I initially asked for 3 gallons as this paint job typically takes at least that much. Luckily for me, the lady only mixed two. Although at the time I was frustrated, it ended being a blessing. I was able to paint this room with one. coat. of. paint and finished the whole area only using 1-1/2 gallons total. Talk about shocked! Keep in mind I was covering a rather dark green as well.


This is the green that I was covering!
This paint is called "Submarine' from Dutch Boy.


Linking up this week to:

Friday, January 23, 2015

Upcycled Crates Oh My!

Pin It

Happy Friday everyone!


Today I am looking at some cool upcycled crate projects over at Hometalk and curating a new Board for them. So exciting!


Repurposed crate


My recent crate project makeover is included, of course as well as some other awesome ideas!


Stop on by Hometalk and check out my new board Upcycled Crates

Linking up today to:
Feature Nest Friday at French Country Cottage
Treasure Hunt Thursday at From My Front Porch to Yours
Your Turn to Shine at Meet the B's

Have a super weekend and thanks for stopping!

Sunday, January 18, 2015

Wood you like a wood wall?

Pin It

I. am. in. love. 

After a fair amount of time looking at wood plank walls on Pinterest, I finally ventured into this world and created my own version. 


Evertrue pine planking from Lowe's as it looks when purchased.

It was a bit time consuming but super easy. I started by purchasing the packs of Evertrue pine planking which are very reasonably priced. Yes what I really wanted was old barn wood but just couldn't find it. I purchased 7 packs so just around $75.00 for this wall and a bonus wall in my upstairs hallway...well almost!


Most of the articles I read had people staining these boards but because it is winter and Michigan, I couldn't stain due to the odor and didn't want to wait for Spring to be able to work outdoors or open windows. So I decided to use paint. I had lots of leftover greys and browns and just started mixing them together to get different tones. I then added 
water to dilute the paint and brushed it on the planks. As soon as I brushed it on, I grabbed a rag and wiped it back. 

It really acted just like a stain without the odor and without any cost. Plus I was using up leftovers!


First two rows, ready to rock it!
With my nifty new pneumatic (try saying that 3 times fast!) nailer I got to work starting from the floor up. Personally saw advantages starting from ceiling down that would allow a full row but I did not want to have to use baseboard at the floor level if I was left with a weird gap. 


Look closely at the very top, you will see my lovely gap.
So my weird gap was at the top. But we grabbed some trim, cut and added it along the top and it finished it off just perfectly!


Look closely at the top and you can see how we trimmed
 it out with a piece of chair rail! (Ignore the half finished mirror, I am refinishing it with a new treatment that works better.)


Added a coat of black ochre tinted chalk paint wax that really helped to blend the pieces together and age it.
Added bonus, I (almost) had enough to do the same treatment in the upstairs hallway. We have a long, narrow hallway that is very dark. Although I am short a couple pieces that will have to finish later, it really makes that wall pop out as a focal point!


I simply used up extra pieces and patched it together. Really adds a lot of feature to this hallway and helps to get rid of yet more of the 70s textured walls!

Thanks for stopping by. I hope you like my latest project at The Decorating Chica.

Linking up this week to:
What We Accomplished Wednesday at Green Willow Pond
Amaze Me Monday at The Heart of Your Home
Upcycled Link Party at Funky Junk Interiors
Weekend Wind Down at Snippets of Inspiration


Sunday, January 11, 2015

Taking a Look Back at 2014

Pin It

Everybody's doing it. Okay, so yeah I'm a little behind. That is just the way things roll in my life these days. Chalk it up to a new full time job and add the rest of the 'normal' stuff and my time is pretty well filled up.

But I did want to take a quick look back at some of the projects I've completed for this year. Cause, even though I haven't been near as productive as I would like, it helps to review and learn from the past and plan for the future.

Here we go:

You say junk, I say treasure was a great dresser find and redo.

You say junk, I say treasure is my redo of a garbage find.

Then there was the DIY bathroom mirror. I had a very unique space that required unusual dimensions a mirror so I made my own.

DIY bathroom mirror

Revisited my diy stepping stones to see how they held up over a very. hard. winter. Quick and Easy Stepping Stones One Year Later.

Quick and Easy Guide to Stepping Stones One Year Later.

While there were several other projects along the way this year, I'll end with this project that was a result of several inches of snow and many days of cold, cold weather!

A large office desk made from repurposed wood.


Hope you enjoyed this look back. Can't wait to show you what I've already tackled in January!

Linking up to:

Amaze Me Monday at Dwellings
Saturday Sparks Link Party at Pieced Pastimes
Making Monday at Grace Langdon Art
Amaze Me Monday at Dwellings


Thanks for stopping by.

Sunday, December 21, 2014

Countdown to Christmas

Pin It

Can you believe that Christmas is so close?

Avon Christmas plates found at garage sale.

Adding simple dollar store ornaments to existing pictures and mirrors
adds a festive touch for a minimal price.

Somehow I started by decorating a week before Thanksgiving, being ahead of the game with gifts and shopping, to being behind the 8 ball. Crazy how that happens!

Dollar tree wreath hung on mirror.

Ribbons and ornaments make the chandy festive.


Ornaments are the cheapest and easiest way to add Christmas cheer!

Our church is going through an Advent series and it has been great to learn more about the Advent season, what the candles stand for, and most of all, to learn to go through this season with Hope, Peace, Joy, and Love.


Glass decanters, pine cones, ornaments, and pine branches make a festive centerpiece.

Added some small, sparkly silver balls to glam up the pine cones.

Sharing a little bit of our Christmas cheer and wishing you all a most blessed and merry Christmas!


Buffet display.

Ornaments in an old vanity drawer add a rustic, festive glam.

Merry Christmas

Adding wreaths to existing decor adds instant glam.

Top of very large armoire.

Christmas tree


Linking up to: